
Once you have created an account with Ravello and Uploaded some images, then it is time to start building a lab environment on someone else’s cloud. If you’ve not signed up for a Ravello account, then you can do that here and if you’ve not read my first article in this series, then you should go here. I’ll wait.
So, to get started you’ll need to create an empty, cloud optimised, ESXi application and then install ESXi within it.
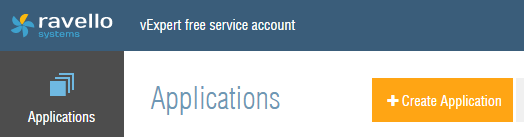
Once logged in to https://cloud.ravellosystems.com you need to create an Application. The Application item is the first icon top left and there’s a large Orange button to click on.
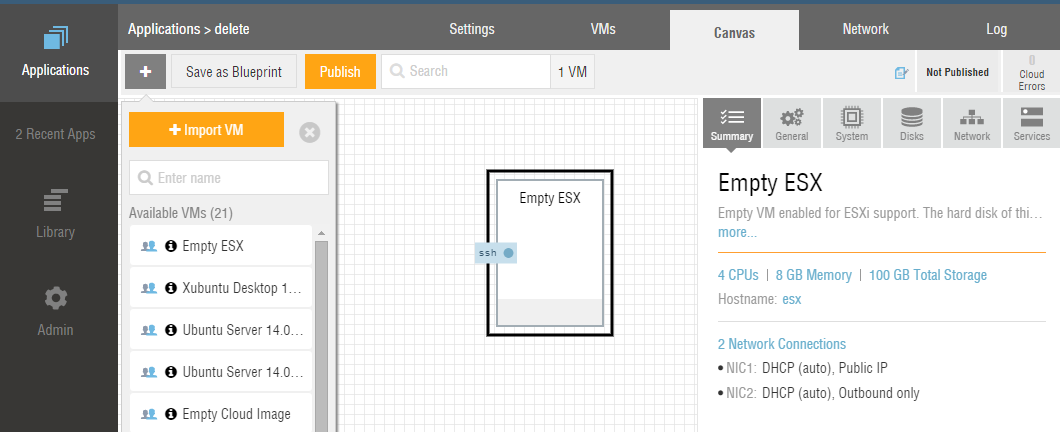
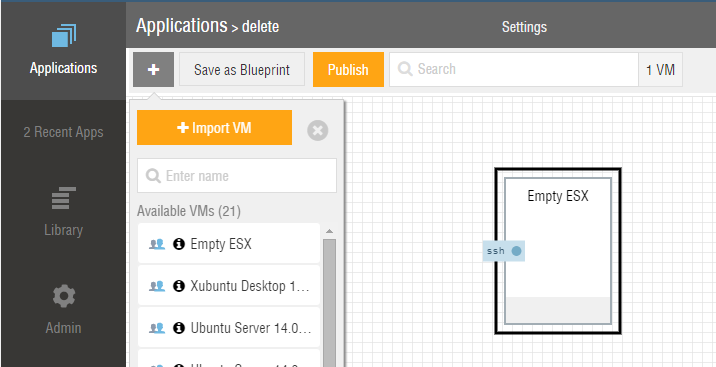
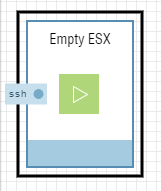
When creating an application it needs a name and does NOT want to be from a Blueprint. As soon as you click create, you are put in to the empty “canvas” view of your new application. The top VM in the list of Available VMs is called Empty ESX, simply click this and drag it on to the canvas.
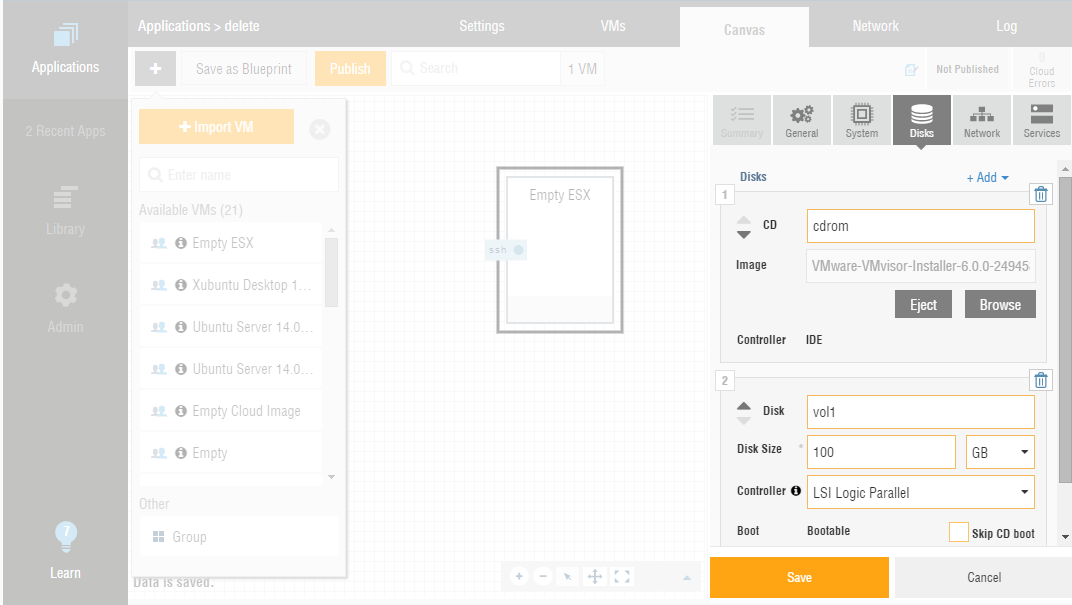
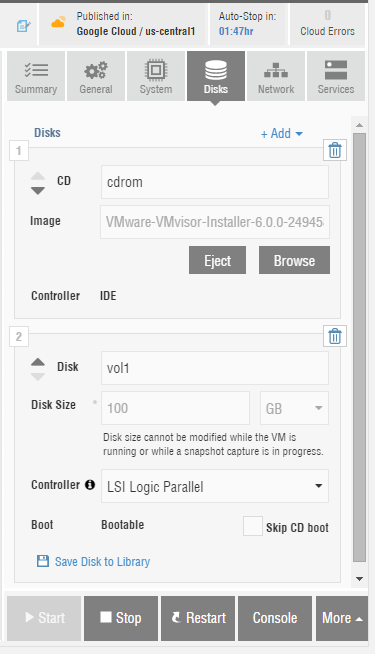
Then you need to map the ESXi image (that you uploaded previously) to this empty ESX VM. To do this you change to the Disks tab on the right had side of the Ravello UI and under the CD item, click browse, find your image from the list presented, click select to attach it and then click save when you are happy.
Then you simply need to hit the big orange Publish button and wait a while for things to happen.
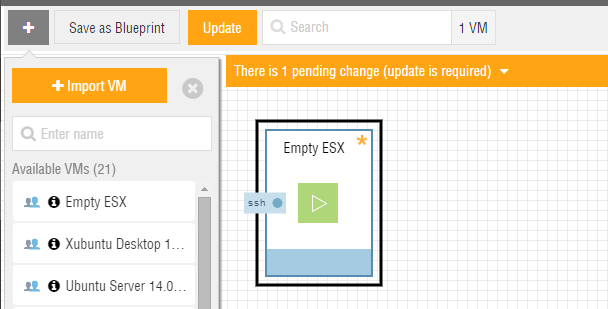
Once the application is published then you will see a play icon.
You can also see to the right hand side of the screen the disks as before, plus a notification of where your app actually resides with “the cloud” and also buttons to interact with your app.
All very funky, seems I am in Google in the US somewhere. There are also options when you start things up to set when you want everything to shut down. Great if you don’t want things churning away for no reason whatsoever. You can also amend this each time you restart your VMs.
Next, click on the Console button below the disks display to gain console access to the ESXi application itself. Then install ESXi just as you would do on any other system. All you’re setting here is your keyboard language and root password, so no big deal. The only key aspect that Ravello point out at this point is that once the installation is finished, you should go back to the main Ravello UI window and eject the iso before restarting. As soon as you click eject, the big orange save button appears at the bottom right of the screen. The you will be told that an update is needed. Again, this is pretty clear!
If you click Update then you’ll find that your newly built ESXi host will restart at that point. I will investigate what happens if you don’t click update and hit reboot instead when I build machine number two.
After a short while, I was able to get back on the console, as before. There are now a list of things that you need to do to allow the ESXi host you just built to play nicely with Ravello.
Firstly, enable SSH from the DCUI. (F2, logon, troubleshooting etc. etc.)
Not sure why this says SSH, I enabled the ESXi shell instead, which turned out to be fine.
Second, In the Ravello UI, Click on the network tab and tick the tickbox that says “Even without external services”, I had two NICs so I did this on both. The Ravello doc was not clear on this point. Also ensure that the Auto MAC tickbox is ticked.
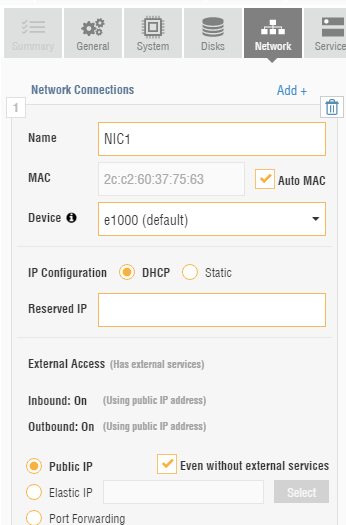
Then when you are happy with both of these checkboxes on both interfaces, click the save button.
Third, in the Services tab, set up DHCP on SSH for the second NIC, as shown here.
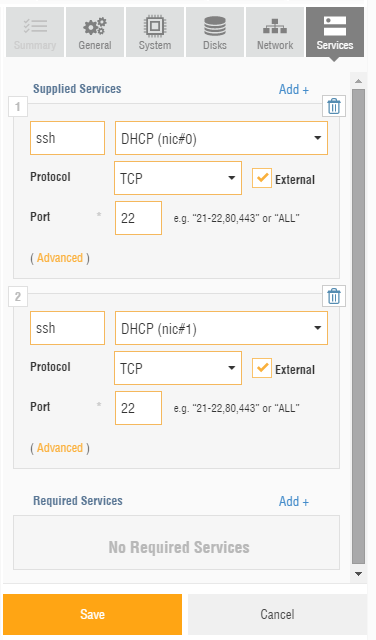
Then click Save, which will require you to do another Update.
Fourth, you need to run some cli commands on your VM, so alt-F1 for your CLI and log in as root.
esxcli system settings advanced set -o /Net/FollowHardwareMac -i 1
to set the MAC address properly on the VM
then some vi
vi /etc/vmware/config
add the line vmx.allowNested = "TRUE"
then save and exit vi and then run the command
/sbin/auto-backup.sh
to make sure this saves properly and ensure that you will have Enable Nested setup on all ESX guests on this host.
Once that’s sorted you can log out and then Disable SSH, reversing how you enabled it.
So there you have it, an ESX host up and running. At this point, I have not decided what my IP address space is going to look like, so this host is on DHCP. I’ll have to change that soon. I did go in and change the hostname and the name of the VM from the General tab on the right of the UI though!
This is just the start…