Installing a vROps 6.2 Appliance
A post to cover my initial fiddling with vRealise Operations Manager 6.2. Considering I have the vExpert licenses to play with, then installing and configuring some additional monitoring seems like a good idea, especially since the alerting and reporting tools that come baked in to vSphere itself are not that extensive. I’ve heard good things about this version of vROps, so let’s see how easy this is.
Installing vROps is not difficult, since like most of the current generation of vSphere add-ons that VMware have released, there’s an appliance to use. Simply grab the appliance from my.vmware.com and import the ova file into your vCenter. The usual pick a name, pick a storage location type of configuration questions have to be answered before you get to the only question that really requires any amount of thought, If you want to have your vROps appliance running DHCP, then you don’t even have to answer that question, but otherwise you’ll need to have an IP address, gateway, DNS server and subnet mask to hand. The first (master) node should always be a fixed IP address, so best to be pre-configured in your DNS with forward and reverse lookups, to avoid any problems later on. This is pretty standard practice for most vSphere admins when installing any part of the infrastructure.
Once you have imported the thing, check out the console, which will show you something like this…
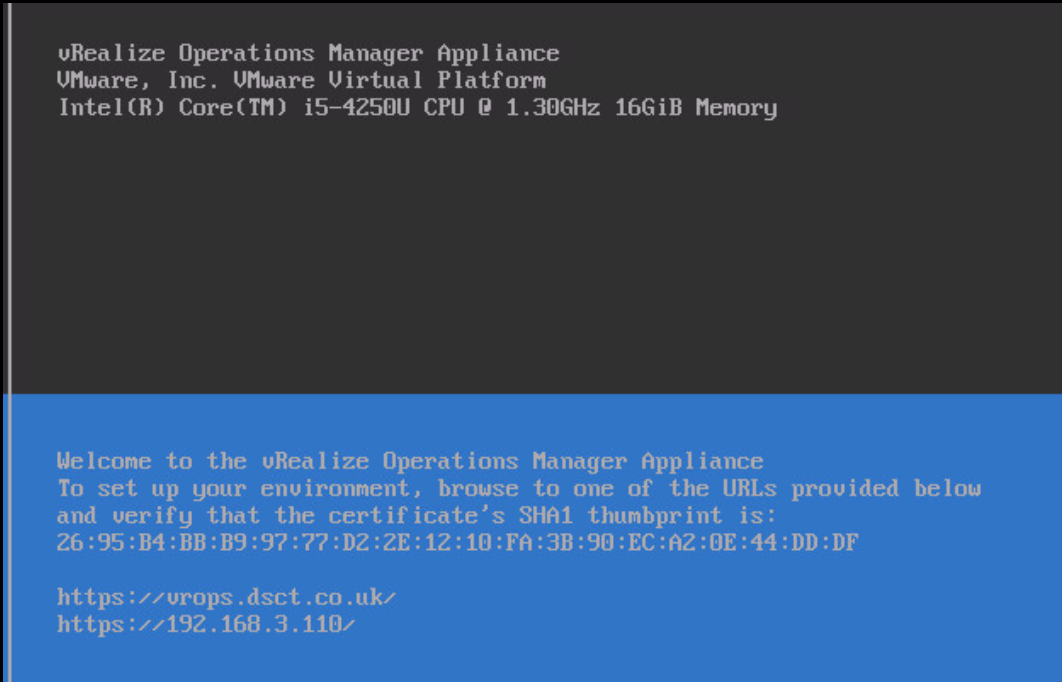
Point your favourite browser and one of the addresses you get at the bottom and you will move on to the real configuration options.

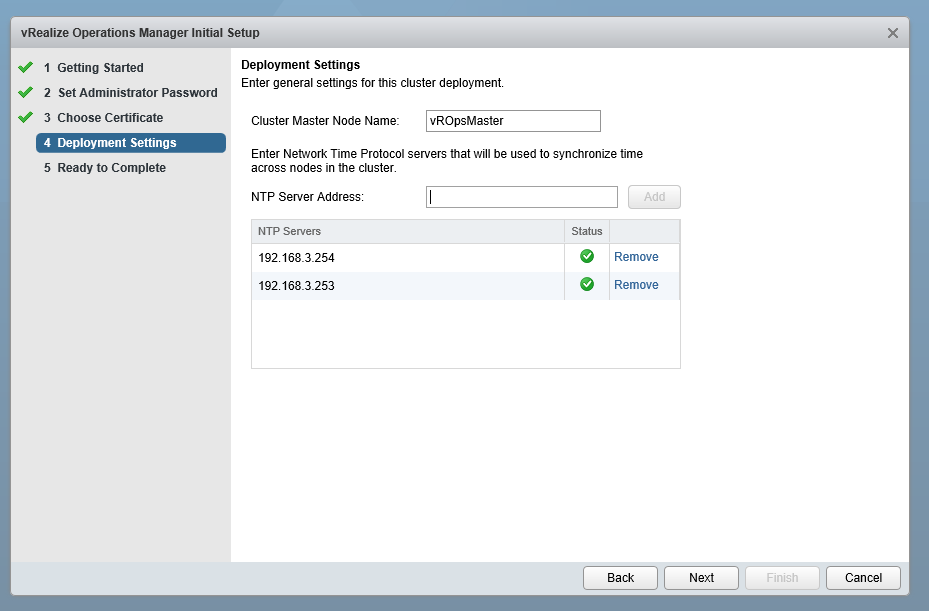
Now we’re talking! I’m doing a new installation and want to determine as much as possible myself, so New Installation seems the best option. So a first screen to tell you that you are installing a Master Node, one to set the admin password and one for SSL certs before you get to a screen where you need to name your master node and add an NTP server (if you have AD for your vCenter, then you can use that of course).
The last screen simply has the Finish button, so two out of those 5 screens didn’t do anything. So far so good. You’re then taken right onto the product to start it up (or maybe you want to go back and add some more nodes to the cluster first, depending upon your sizing requirements, not gonna happen in my home lab).
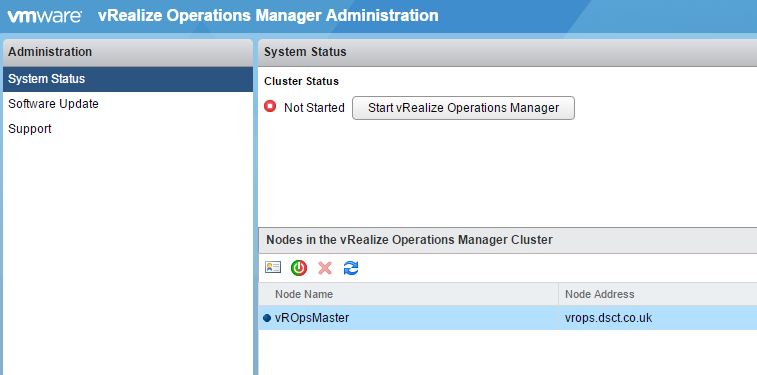
It’s pretty clear to see that the cluster is not running at this point. Click the button to start the vRealize Operation Manager cluster. This may take some time, depending on how complex your infrastructure is. During this startup process you’ll get thrown out and have to log back in again, you go in to another wizard at this point, with 5 more screens. Again, nothing that technical, you might want to enter a license key. As you end this section you’re getting shown how far along the full process you are, which is nice.
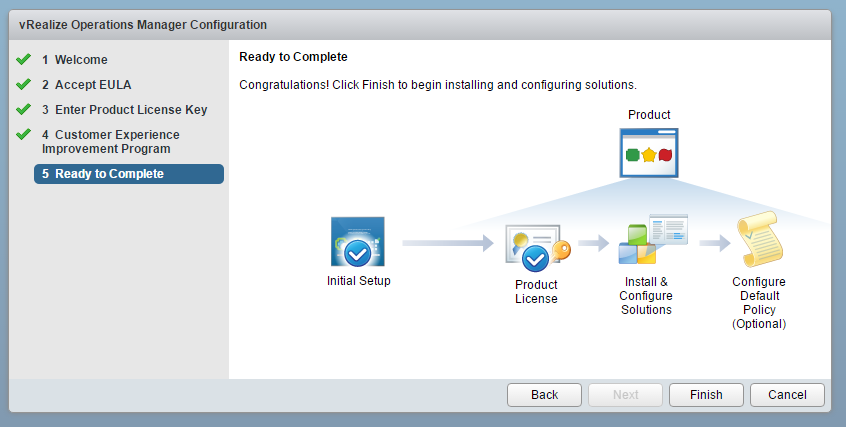
Once you finish this you will be taken to a proper vROps Admin Console. Up to now I’ve not mentioned that you may need to refer to the Deployment Guide - probably because you don’t really need to up to this point. As you can see from the screenshot above, though, you will now need to think about which additional solutions (if any) you want to install, you’ll need to find a vCenter installation to monitor and you may want to Configure a Default Policy. For now, here’s the console that you’ll see.

Clearly this is now the “proper” vROps console, albeit that administration portion of it, so that’s basically how vROps gets installed. One of the most simple vSphere related installations I have ever done. I may have to try another installation just so I can pick the Express Installation, although I can’t think how that could be much simpler or faster than this.